Saturday, July 16, 2011

By Cycle: A Sampling of Sannich Spirits

With atypical weather for a Saturday in July, I set out on what should be a typical midsummer event. In a steady rain I headed around the corner from home for a delicious Cornerstone Café Americano made by my wonderful roommate. This gave me the drive to continue on to the galloping goose where I picked up a new riding companion for the journey along Lochside trail to Saanichton. Our destination was a decadent brunch to kick off an afternoon of spirit tasting. Our hostess treated us to a delicious meal consisting of fluffy pancakes, omelettes, smoothies, orange juice, coffee, tea, fresh berries and fruit salad. Luckily, by the end of brunch the rain had let up and it was time to get moving.


   Shortly after noon we set out by bicycle to our first stop, Sea Cider. With a lovely view of the water and James Island we sampled all the ciders on offer and a plate of local appetizers made up of bread, cheeses, meats, pickles and a chocolate truffle. There are nine ciders to choose from and all are delicious; anyone should be able to find one to suit their palate. My favourite was the Pomona dessert cider, an apt after dinner substitute for port or sherry. 


    All ready into mid afternoon we had to move on to our next venue, Victoria Spirits. We were lucky enough to arrive in time for the beginning of a short tour by Peter, the master distiller. Though previously a winery, Victoria Spirits has gone full time into the distillery business and while best know for their Victoria Gin, they make several spirits. Our tour was followed by a tasting of these offerings which included hemp vodka, two distilled wines (Eau de vies), Victoria Gin, Oak aged Victoria Gin and a bitter. There is also a whisky in the works. Interestingly, the whole family is involved in the business in some way whether it is using the products in cuisine at Paprika restaurant in Victoria or growing various ingredients for the spirits themselves. For me this was a highlight of the tour, but with time running short we had to move on.


    Next door to Victoria Spirits sits Dragonfly Hill Vineyard where we were treated to a tasting of three wines (two white, one red) and a fruit dessert wine by the owners. They use some unique grapes here and make some very individual wines. The Ortega Auxerrois was my favourite and is made from 100% estate grown grapes.


    By the end of the day my pannier was full with a bottle from each stop. Vancouver Island offers an impressive array of alcoholic delights and learning more about them by visiting and tasting is best accomplished by bicycle. Be sure to drink lots of water though as this could be a dehydrating experience. This was a perfect way to meet new friends or bond with old ones. Our pace was slow and easy as there were all types of bicycles and cyclists in our group. It also required minimal planning as one can simply drop in during the various businesses’ open house hours.


    The tour concluded, some of us continued back to town by bicycle, while others went back to the brunch location to return by car. The best part is that this is only a tiny sample of Saanich and Vancouver Island has to offer in the way of fine alcohol so we can do these tours again and again discovering new offerings each time.


-VBN

Sunday, July 10, 2011

Washington Weekend

   To celebrate my country’s birthday I decided it was best to visit our neighbours to the south. It happens to be a bit of a Victoria Canada Day tradition to ride up Hurricane ridge in Olympic National Park and although I had planned to take part in that, I decided to do something different in the days leading up to the event. Some friends had mentioned a little weekend bike trip consisting of two nights and three days of riding. We would do a small loop from Victoria through Washington via Port Angeles, Port Townsend, Whidby Island and Anacortes. Was I ever glad I made that decision?

Day 1 – July 1st, Canada Day

     Our trip began casually catching the Blackball Coho ferry to Port Angeles, Washington at 10:30am. There, the three of us met our fourth companion and headed east towards our first destination, Sequim Bay State Park. Not 30 minutes in we had our first flat. The sidewall of the tire was in a sad state, I waffled on going back to Port Angeles for a tire, but we decided to boot it and buy a tire in Sequim. The Olympic Discovery Trail network provided us with an unexpectedly pleasant riding experience.  We were unaware of the trail until just a few days prior to the trip. On the outskirts of Sequim we found Mike’s Bikes, picked up a new tire and discovered a second flat. All was repaired and we continued on out way.


   Sequim state park was very bike friendly with three hiker/biker sites on a first come, first serve basis. There was one other cyclist couple from Victoria. The fee was a reasonable $12 for the night for one site and was right on the trail! We enjoyed soup, salami, cheese and good bread for diner. Of course some local beer and a box of wine were required. Perhaps it was the Bota Box that was responsible for a late night of star gazing and reflection down by the water.


Day 2- July 2nd

    With minimal sleep and a cold night I arose early to camp coffee and oatmeal. Although a little tired from the night before we were packed up and on the road by 9am. There were many miles to cover and the Discovery trail ends shortly after Sequim. However, there are several quiet side roads off the highway that offer nice views of Discovery Bay. At the base of Discovery Bay it is necessary to take to a few miles of narrow shoulder on highway 20. For the most part this is not bad riding unless a transport passes you. We had big rig pass and it was a little scary, but we kept a good tempo and the miles fell away quickly. Good time was made and we stopped at a bike shop on the outskirts of Port Townsend. The owner was into wood working as much as bicycles, which made for one of the most interesting bike shops I have ever encountered. He suggested a good restaurant and after doing a loop through a grassy field we found the trail into Port Townsend and had lunch on a patio.


    Port Townsend is characterized by large bluffs and an old downtown with a decidedly east coast feeling. The ferry to Whidby Island is only $3.25 per person; thank-you government of Washington!


    Whidby Island was a new place altogether. High winds and rolling hills covered with farms characterized the island along with several military base parks. Our destination was Fort Ebey State Park, about 10kms or so from the ferry on the west coast of the island, but first we had to resupply in Historic Coupeville. Once again there were three hiker/biker sites at the park, but this time we were the only users. The sites were new and very private. We were able to explore the old military base built into the hill and the pill boxes on the bluffs despite being extremely tired from out day’s labours. The bluff tops were covered in beautiful grass meadows perfect for more star gazing and listening to the sounds of the sea, protected from the wind lying in the tall grass. Sigh.


Day 3- July 3rd

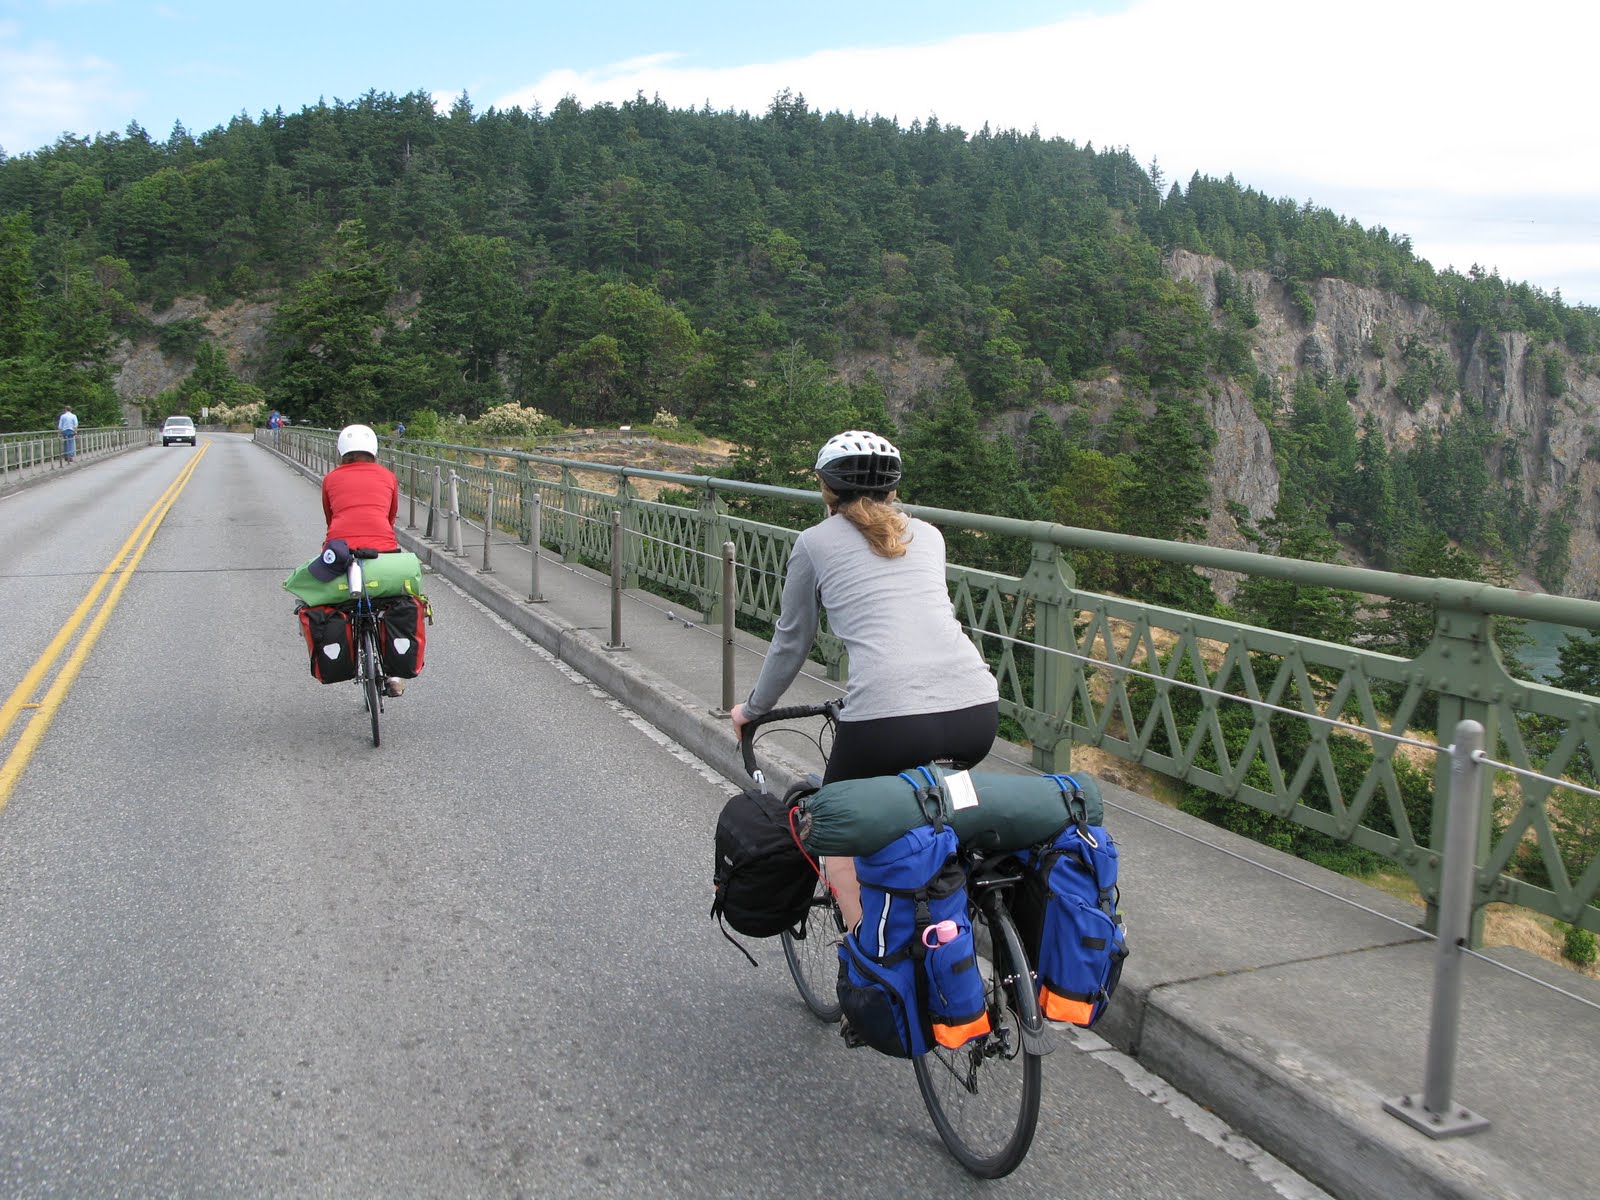
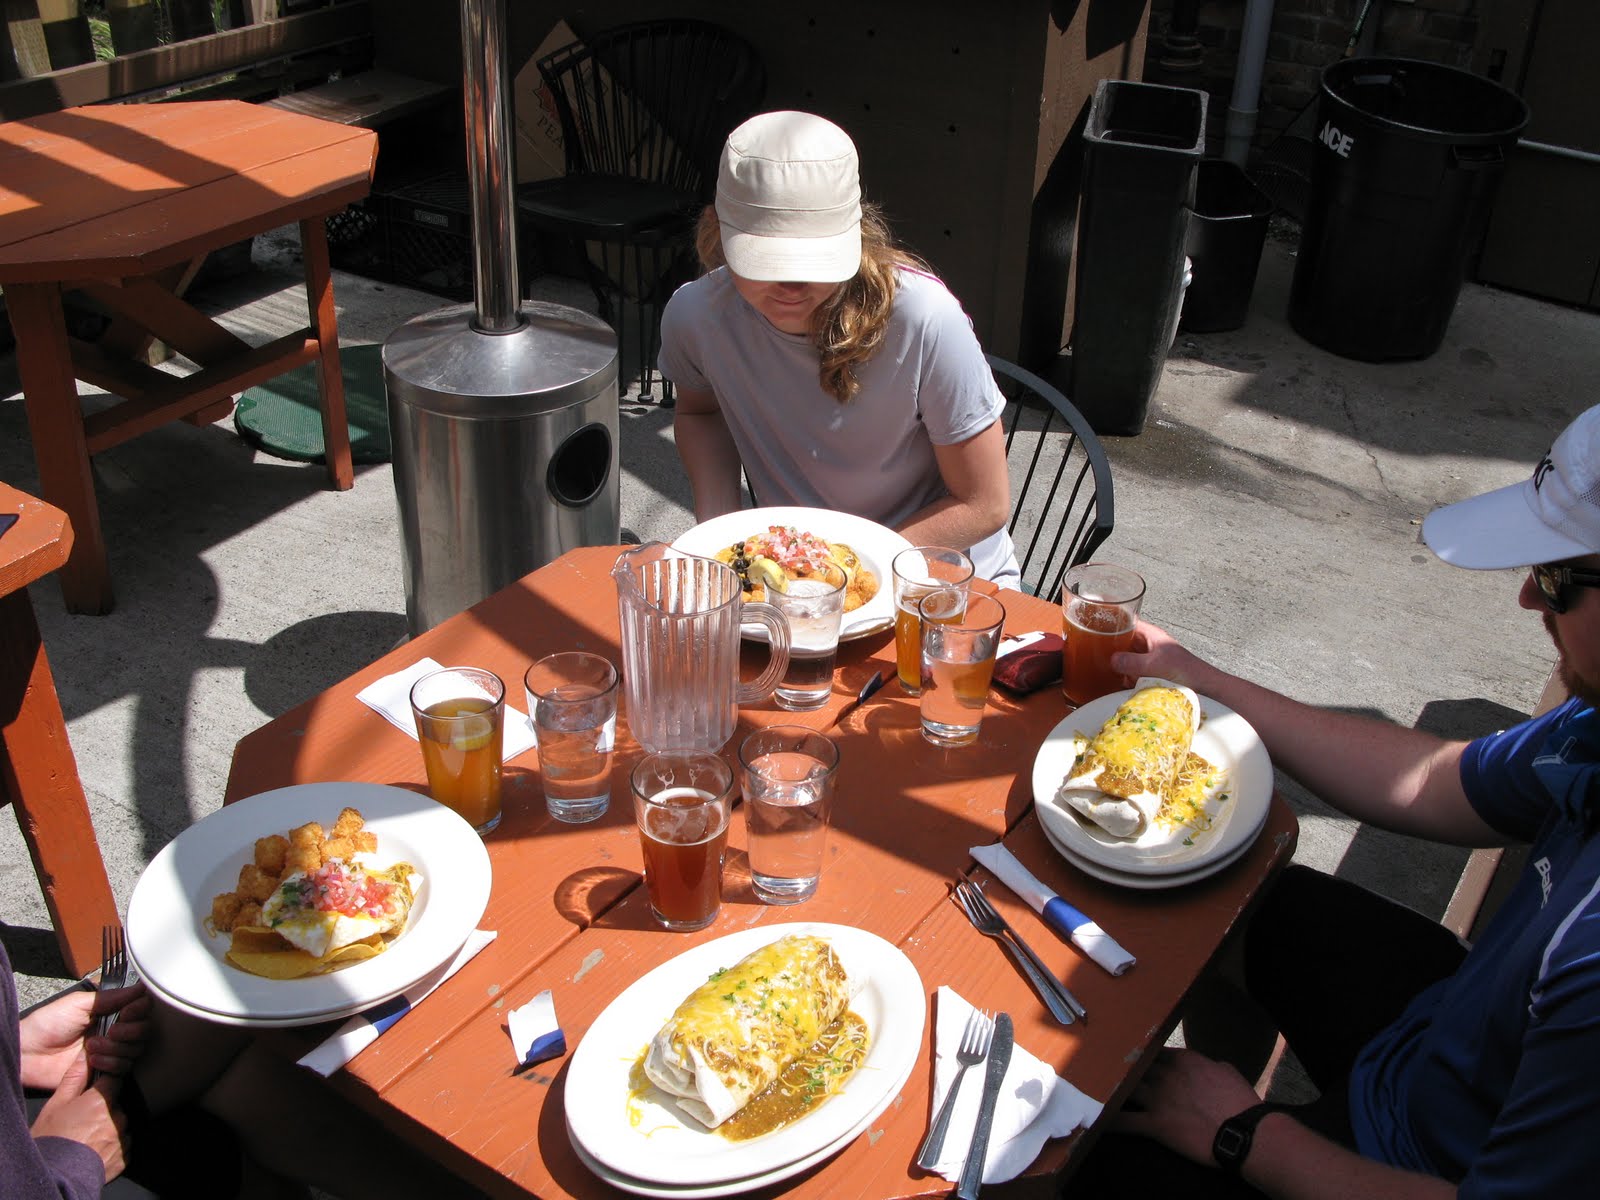
    Luckily for me, my tour-mates were ready to head home on day three. We had to catch a 2:45pm ferry at Anacortes, about 45kms to the north. Once again we were on the road by 9am and made great time to Deception Pass, a narrows between Whidby and Fidalgo Island with a high bridge. Fortunately, there is a less traveled road up the west side of the island which leads you to Anacortes. It was smooth sailing all the way to town where we stopped at a pub and ordered our lunch off the brunch menu before continuing to the ferry. We ended up having some time to spend lounging in the shade as we waited for out boat on a melancholy west coast afternoon. At least three of us dozed on the ferry before returning to Sydney where we had another 25 or so kilometres home.


   This is a fantastic three day trip that is very achievable by the average cyclist with some reasonable equipment. I had the three best travel companions a cycle tourist could ask for. Despite some flat tires our spirits ran high the whole trip and everyone was genuinely enjoying themselves even at the end of long days in the saddle. The sights in northwest Washington are wonderful and all the interactions were very friendly, I hope to do this same tour again in the future, but before that there is a lot more of the Olympic peninsula to explore. Get out there!

-VBN

Monday, June 6, 2011

Classic Bike Rally

Victoria had one of it's first vintage bike shows as part of the Victoria International Cycling Festival this June 5th, 2011.

The event was a success in my opinion. Held on the lawn at the Empress hotel it was rather small but saw a few classic bike buffs come out to show their collections and talk bikes. There were bikes from the personal collections of several Victoria shop owners and employees. The event was organized by Tim Unger of Fairfield who moved bike for several others. Thanks Tim. There were many beautiful bikes, but the highlight was "Torchy" Peden's CCM flyer recently restored and currently residing at the Greater Victoria Sports Hall of Fame. Some other highlights for me included an early Marinoni road bike with the Fleur De Lis cutouts probably dating to 1976/77, a probably late 1950s or early 1960s Bianchi, Claude Criquielion's Hitachi team bike on which he crashed with Steve Bauer at the 1988 world championships (an all Mavic equipped Eddy Merckx), and an all Zeus equipped, Zeus track bike. 


Time hopes to organize a regular meeting for fans of vintage bikes and build a better community amongst us. I look forward to being able to ride some of my bikes with other enthusiasts.


-VBN
Sunday, May 15, 2011

BSOs and Bicycle Comics

Todays Yehuda Moon and the Kickstand Cyclery strip had me reading the comments. I have never heard the Bicycle Shaped Object (BSO) term before, but I knew immediately what it was and I could see any number of them in my mind. I feel a sense of remorse when I agree to tune one because I feel the customer is wasting their money, but the response is always the same: "Well that's less than a new bike and I don't want to spend $600". So I shake my head, say yes and take their bike in.


Here is a great article lamenting the pain that BSOs bring to mechanics. We're not bike snobs (which is what most people think we are for bashing the BSO).

Tuesday, May 10, 2011

A Fixie For Fashion

I have been riding fixed gear for about 5 years and I have always ridden with brakes. My first bike utilized a suicide hub (an old thread on freewheel hub with a track cog and an lock ring) on a 1981 Nishiki Competition, a nice bike. I spun the cog off multiple times before accepting I would not be able to skid stop. I road some old Normandy hubs laced to Araya rims for many years. Eventually, those original wheels made it onto a 1975 Jeunet made of  Reynolds 531 steel, which was a lot more fun than the Nishiki though it was more of a “sport” bike than a race bike. I always believed it was the 531 that made the difference.


The Jeunet was flawed though. It had been repainted and braze-ons were added in the 1980s. I filed the retrofitted shifter bosses off as I sometimes got caught on them when skidding. This bike was a general all weather beater and this took its toll on the hubs and wheels. Eventually I had to retire the old wheels and it was time for a real set of track hubs. What is more tried, tested and true than Phil Wood? Nothing. I built up three cross 36 hole wheels with DT Swiss spokes to Nisi Mixer rims harvested from and all original 1988 Marinoni with low miles. Being from France and the mid seventies, the Jeunet had French threading, but the bottom bracket had been tapped to Italian at some point. The threads were a mess and it was always a challenge to change bottom brackets which happened from time to time as I did maintenance or swapped cranks. At one point I cracked a vintage TA specialties non-drive crank arm. The Jeunet was tired and I wanted something with forged dropouts instead of the stamped ones it had. So I kept my eye out for a particular type of frame. I wanted something from the mid-1970s to early 1980s because that is the period when the following features were most common: clearance for full wrap fenders and eyelets for fenders, forged dropouts, fewer braze-ons (especially not for shifters), and Reynolds 531 double butted steel. Lastly, the frame would need to be English threaded.


 An interesting bike caught my eye on used Victoria in the summer of 2010. It was a Mairag, made in Switzerland. The seller had used a photo of perhaps the only Mairag documented on English internet and advertised Zeus components. The price was good for a potential flip and strip and I knew some people the frame might fit. Of course, I was assuming the photo was the bike for sale and estimated the size based on that. When I showed up I found a bike in my size meeting the above criteria though lacking the fender eyelets on the front fork. Close enough. I bought it and stripped and hung the frame up to wait for a time when I could swap the parts from the Jeunet. I had Fairfield Cycles braze on some eyelets.

Back to the Jeunet, the Nisi rims did well until a dark night on an unfamiliar road brought me right on top of a chasm of a pothole formed at the seam of two different asphalt applications. It left such a massive flat spot in the rear rim the bike almost audibly thumped when riding, but miraculously did not flat. Not having a rim on hand to rebuild the rear wheel I build the Jeunet up as a single speed with spare parts and sold it. My new fixed gear would come later.

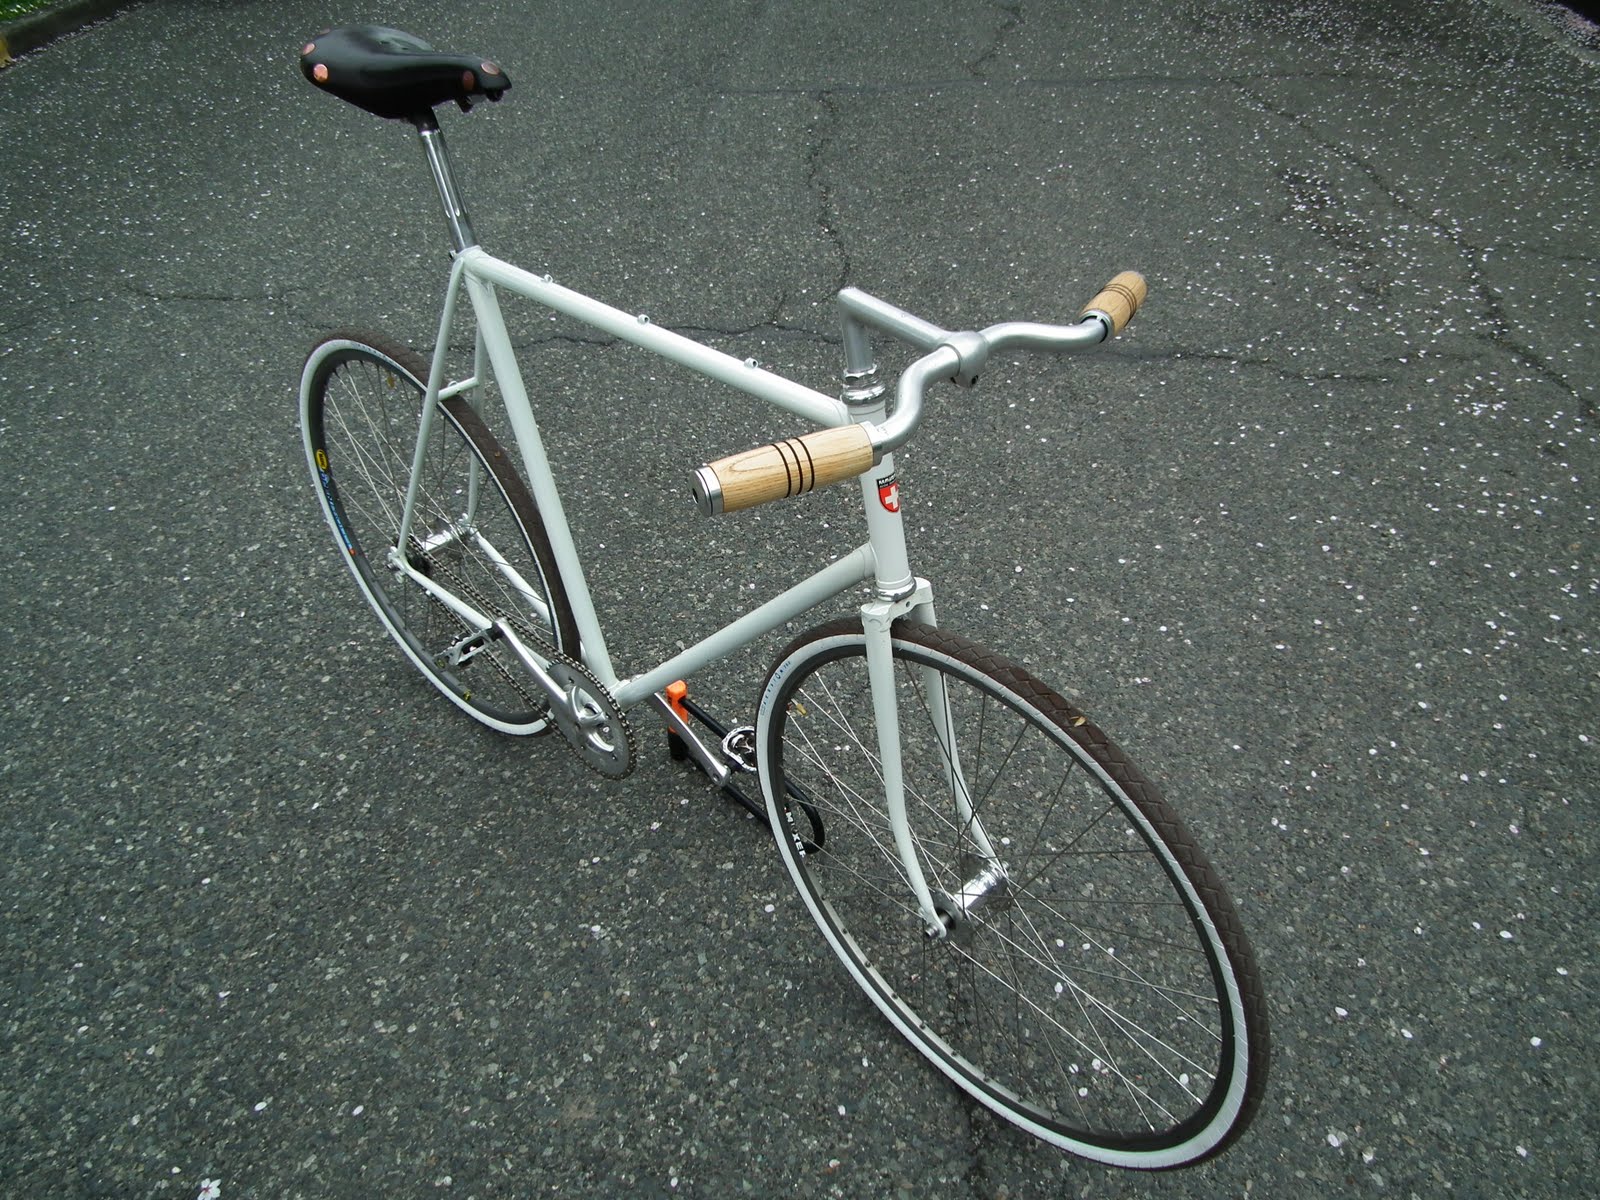
After several months I took the frame to Jim at J&B auto parts group on Oak Street in Victoria and asked him to replicate the original paint colour, while masking the head badge. I ordered a Mavic open pro rim in grey anodizing to rebuild the rear wheel and did so with DT Swiss double butted spokes. I knew from all my headaches with old cranks that I wanted something more dependable and when some 172.5mm Ultegra Octalink cranks fell into my lap I simply ordered an appropriate track ring for them. Being that this was a fresh build I wanted to have fun with it. I decided a brown on pearl colour scheme would be great with my Brooks Professional Saddle and ordered some Fixation brown on white tires and a set of wooden grips to finish it off. The Nitto bars are based on Italian Café bars from the 1960s and 1970s and I had procured them from an old Sekine city bike and always wanted to give them a try. The Chris King headset I traded for with a Super Record and it had been waiting for the right project. I also had the first generation super record post fall into my lap for $10 at the Oak Bay Bicycles Swap meet last summer. The new fixed gear was born with every intention of putting the moustache bars with Campy Record brakes and some alloy fenders back on. However, as I road it the first few times to show it off and take some photos something happened. I actually enjoyed the new awareness that riding brakeless brought. It required a greater appreciation for the road around you and paying extra attention. Though it was slower the simplicity was appealing. So as we wait for the Victoria summer to finally take hold I’ll be riding brakeless and fenderless till next winter.


Saturday, April 23, 2011

Stewart Mountain High

Victoria is home to some great mountain biking and there is something for every riding style. Here on the west coast we sometimes ride our cyclocross bikes on trails better suited to cross country mountain bikes, but the challenge is part of the fun. However, when you want a light ride you can’t help but grin as you rip fast single track and decommissioned forest service roads on something like my new Giant Anthem X1 29er. These sometimes cyclocross sometimes cross country mountain bike were the trails I visited today.


Today was the first ride on my new rig and I wanted to do something easy to get to know my new friend. 29ers are supposed to be fast and climb well so I decided to put it too the test and climbed up Stewart Mountain. I entered the trails at the end of Bates Road (off Baker, off Highland road winding through Thetis Lake Park). The Anthem climbed like a champion and I was able to clean sections of trail I never could on a cross bike or my 2010 Giant Trance X2. The Shimano Dyna-Sys drivetrain is a major improvement over the previous 9 speed systems. Shifts are clean, crisp and reliable; the feel is more solid and gives a satisfying click. The new system pulls more cable making is less susceptible to contamination and housing degradation. This is a huge plus. As usual the Fox suspension is incredible and I was even impressed with the performance of the Maxxis Crossmark tires. After getting to the top of Munn road the only logical choice was to bomb back down the way I came and head back on Highland road. That was followed by a quick cut back to Munn road on the old Highland road trail and shooting out down to Prospect Lake Road and Home. It’s going to be a good summer of riding on the island. Tomorrow the Anthem learns some more challenging terrain at The Hartland 


Saturday, March 5, 2011

Increase your mechanical advantage (getting more from your cantilever brakes)

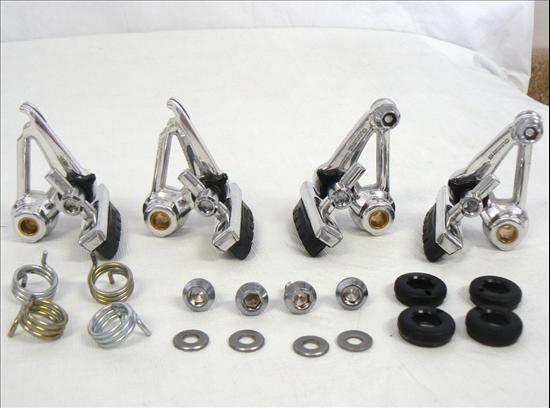
Cantilever brakes are often sighted as the bane of many mechanics. . That the bicycle was invented in France is debatable, but one thing is certain: the cantilever brake was invented in France and is over half a century old. It is one of the original bicycle rim brake designs. Cantilever brakes can be beautiful and mysterious, just like French women (Okay sorry that is bad, but I'm leaving it)

.

While there are several online articles that should be enough to allow anyone to set up their cantilevers with good results (e.g. Sheldon Brown), one intelligent cyclist has taken it a step further and produced an article outlining how the cantilever brake works (Cantilever Brake Geometry by Benno Bulhumeur). One of the clearest results, and often the easiest adjustment to make, is that lowering the cable yolk always increases mechanical advantage. While this may not be possible with the later cantilever designs utilizing a cable splitter instead of a yolk it is true for pretty much every cantilever brake made prior to 1990. This simple adjustment jives with my experience and I always set-up cross bikes so that yolk is just above the bolt hole in the stay bridge or fork crown. Often it pays to install fenders first and then make the final adjustment to the yolk height.

Sometimes cantilever brakes can have too much mechanical advantage. These are the brakes that feel really spongy and have too much lever throw. This is usually related to poor lever and brake pairing, but it can also be the brake set-up.


The article points out that the oft sighted rule of thumb of having a 90 degree angle between the straddle wire and the lever arm of the brake is not only flawed, but can be totally inappropriate for some brakes such as low profile brakes mostly used in the 1990s on mountain bikes. I believe, that low profile cantilevers are the reason many mechanics have frustrations with them. If you play with the yolk height for the low profile cantilever on the interactive cantilever set-up calculator you will see that mechanical advantage decreases rapidly as you increase yolk height. While the brake arm is static, keep in mind that the power is also related to arm position and as the pads wear the arm can become dangerously close to parallel with the braking surface in which case you loose a lot of power. For this reason the brakes should be set-up with the pad as far inboard on it’s mount as is feasible (i.e. arm is further out). This article and the interactive calculator should be able to help anyone better understand cantilever set-up and can help you choose the type of brake that is best for you. It nicely displays why the early Shimano Deore XT cantilever was one of the best. It was a medium profile design and had a fool proof set-up. Enjoy!


-VBN